A trim kit is the decorative frame that fills the gap between a built-in microwave and the cabinet opening, and it goes on as part of an installation that follows the microwave’s own installation instructions. The kit must match the exact model, the opening must be built to the dimensions in the instructions and the cabinet must leave the microwave room to breathe. One honest caution first: is a Maytag UMC5225GZ built-in microwave or not? Our model page describes the UMC5225GZ as a countertop microwave in Fingerprint Resistant Stainless, so read your own nameplate and manual to confirm how your unit is meant to be installed before you cut or build anything. This guide explains how to tell whether a microwave goes into a cabinet niche and what a trim kit does.
What is a trim kit on a built-in microwave?
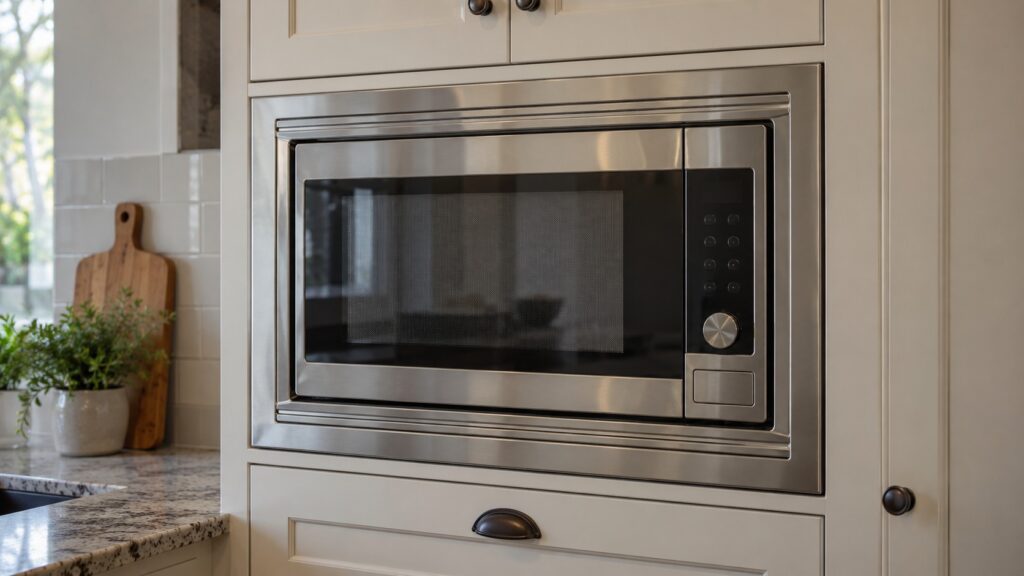
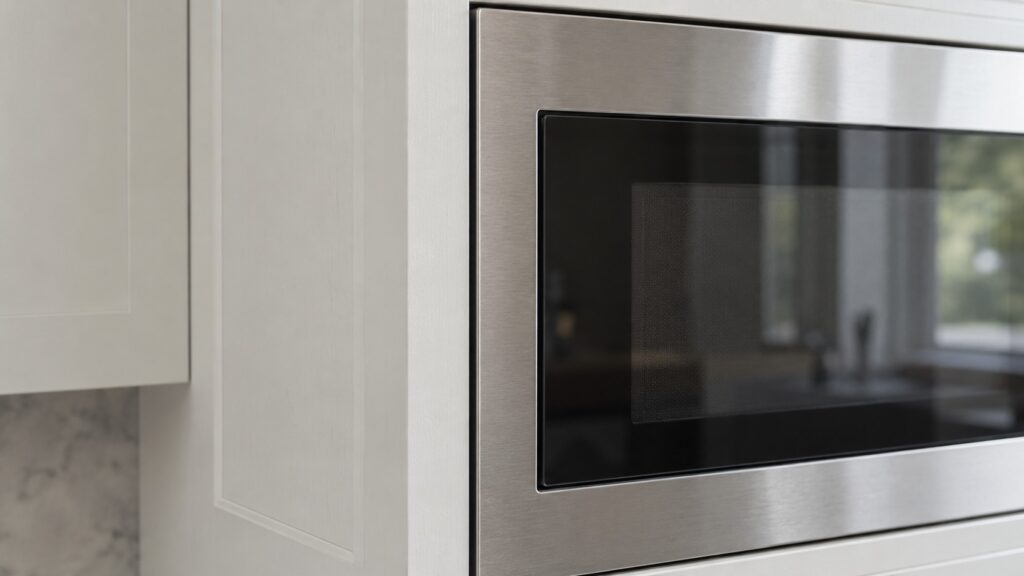
A built-in microwave sits inside a cabinet opening, not on a counter and not over a range. The opening is built to a specific size, and the microwave is made to fit within it. A trim kit is a set of frame pieces that goes around the front of the microwave and covers the gap between the microwave and the edge of the cabinet opening, so the installation looks finished. Trim kits are sold for particular microwaves and cabinet openings, and the right one is listed in the microwave’s installation instructions. A kit for a different model, or for a different opening size, will not sit right.
In everyday talk, people say built-in trim kit for the whole assembly, but it is only the visible frame. The structure behind it is the cabinet opening, the support under the microwave and the clearances the maker specifies.
How do you know whether your microwave is meant to be built in?
Look at the model plate on the microwave and find the model number. Our UMC5225GZ model page lists that model as a Maytag microwave in Fingerprint Resistant Stainless and describes it as a countertop microwave, with features such as Sensor Cooking, Dual Crisp or EvenAir convection and AccuPop depending on configuration. So the search phrase Maytag UMC5225GZ built-in microwave does not match what our page says; a trim kit is not something we can promise exists for that model. Rely on the paperwork that came with your unit: the installation instructions state whether the microwave is meant to be built in, whether a trim kit is available for it and which kit number to order.
If you no longer have the instructions, look up your model’s manual using the full model number. Do not guess the kit from the look of the microwave.
What does the cabinet opening need to be?
The opening is built to the width, height and depth in the installation instructions, and there is no standard that you can safely assume. Measure the opening and compare it with the numbers in the instructions, then add the room the trim kit needs, if the instructions give it. A shelf or support under the microwave must carry its weight, and the sides and back of the opening must leave the clearances the maker states. Our microwave installation clearances guide explains why clearance matters: it exists for heat and airflow reasons, and an installation with blocked vents can make the microwave overheat.
If the opening was built for a different, smaller microwave, remeasure everything. Do not assume the old opening was generous enough.
How do you fit the microwave and the trim kit?
Follow the order in the instructions that came with the kit and the microwave. In general, the microwave goes into the opening first, is secured as the instructions say and is checked for level, then the trim pieces are attached around the front. A microwave is heavy and awkward, so have a second person to help, lift it and not drag it, and keep the power cord from being pinched behind it. Do not cut, drill or modify the cabinet beyond what the instructions describe, and do not fix the microwave in with screws that the instructions do not call for.
Keep the vents on the microwave clear. Check the manual for where your model takes in and exhausts air, because a tight trim or a filler panel that covers those openings can cause overheating.
What about power and the outlet?
Plug the microwave into a grounded outlet of the kind the instructions call for, and do not use an extension cord. Ask an electrician whether the circuit suits the microwave’s draw, as the manual describes, before installation day. If the outlet is damaged, not grounded or not where the instructions need it, an electrician should deal with it. Do not work on house wiring yourself.
After installation, plug in, check that the display lights and run only the first test your manual describes. If the microwave sparks, shows a code or fails to heat, stop using it. Our Maytag microwave F1E4 and E-series codes guide explains what the display codes mean.
What are the common mistakes?
The usual ones are ordering a trim kit by appearance and not by model, building the opening to a guess, boxing in the vents, mounting the microwave with no support under it and treating the outlet as an afterthought. Another is skipping the manual because the old microwave went in without trouble. Each of these has a quick check: the model number, the instructions, the vents, the support and the outlet. For general cooking and cleaning tips afterward, see our guide to cleaning and maintaining a Maytag microwave.
When should you call a technician?
Call if the microwave does not power on, a code stays on the display, the door does not close properly or the unit overheats and shuts off. Do not open the microwave’s case: it holds a high-voltage part that stays dangerous even when unplugged. If you see sparks, smoke or a burning smell, stop the microwave, and switch off the breaker at the panel while standing on a dry floor. Our Maytag microwave repair page explains how a visit works.