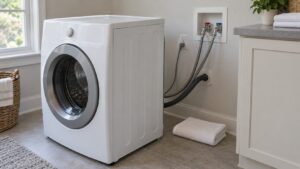
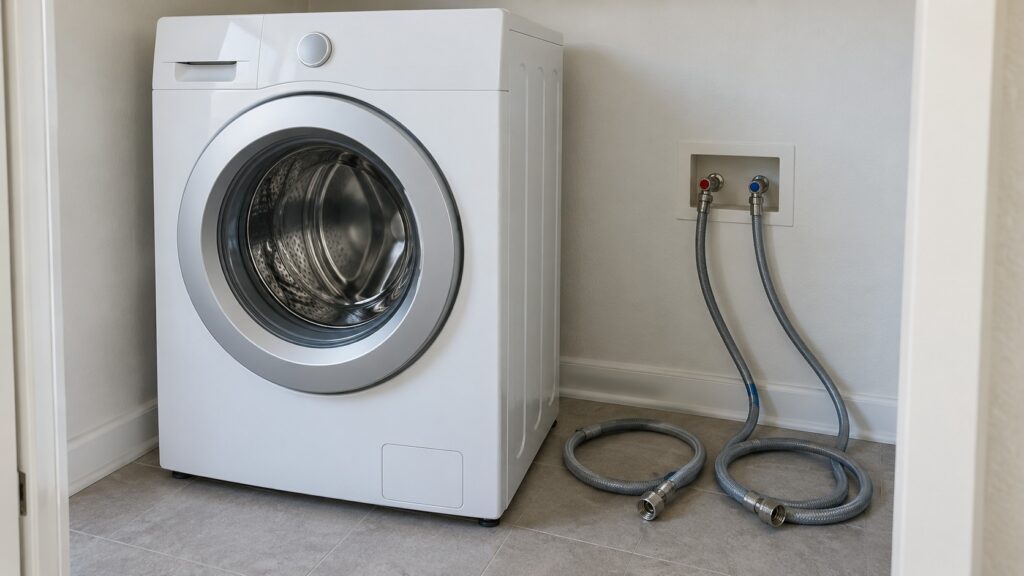
Installing a Maytag washer comes down to four jobs: connect the hot and cold water hoses, set up the drain hose, remove the shipping bolts and level the machine. The hoses are where most installations go wrong, because a loose or kinked hose leaks and an old one can burst. Follow your owner’s manual for the exact steps for your model, and treat anything involving the electrical outlet or a gas appliance nearby as a job for a qualified installer or electrician.
What do you need before installing a Maytag washer?
Start with the space and the supplies. You need hot and cold water shutoff valves within reach of the hoses, a drain, a grounded outlet and a floor that is solid and level enough for a machine that shakes in a spin. Keep your owner’s manual and the installation sheet that came with the washer, because the clearances, the drain height and the connection details are listed there for your exact model. Have two new supply hoses ready. Our stack installation guide recommends braided stainless steel hoses, not rubber, and says to replace hoses every five years whatever their condition.
Move the washer on a dolly or with help, and keep it upright. If you are stacking a dryer on top, do not use this page; read our Maytag washer and dryer stack installation guide instead.
How do you connect the Maytag washer hoses?
Maytag washer hoses carry hot water to one inlet and cold to the other. The general steps are the same for most washers, and your manual gives the details for yours.
- Turn both water supply valves off before you touch anything.
- Check that each hose has its rubber washer, or gasket, seated in the coupling. A missing or flat washer is a common cause of drips.
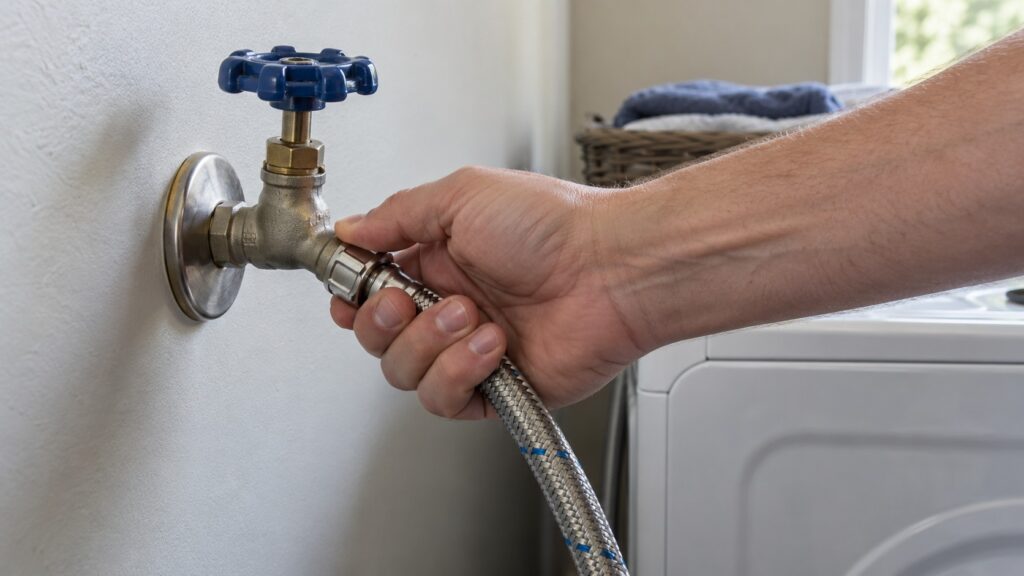
- Screw each hose onto its faucet by hand and then onto the matching washer inlet, hot to hot and cold to cold as the washer’s inlet labels show. Tighten as the manual describes.
- Route the hoses with a gentle curve and no sharp bends or kinks, and leave a little slack so the washer can vibrate without pulling on them.
- Turn the water on slowly and check every connection for drips. Wipe each fitting dry with a paper towel and look again after the test cycle.
Do not overtighten plastic fittings or use a long wrench on them. A weeping connection after the water is on means the washer or the gasket needs reseating, not more force.
How do you set up the drain hose?
The drain hose carries the used water out. It goes into a standpipe or over the edge of a laundry sink, and the manual tells you the correct height and how to secure it. The point is that the water should drain out freely and should not siphon back into the machine. Keep the hose free of kinks, and do not push it down the pipe so far that it seals the opening unless the manual says to. Hold it in place with the guide or clip supplied with the washer so it does not jump out during a spin.
If the washer later leaves water in the drum or throws a drain code, check the hose first, then see our Maytag washer drain pump filter cleaning guide.
Why do the shipping bolts matter?
A new washer is secured for transport, and those shipping bolts or restraints must come out before the first wash. If they are left in, the drum cannot spin freely and the washer can fault in the spin. Our guide on Maytag washer shipping bolts and spin speed faults explains why left-in bolts are the first suspect for an F7E1 code. Keep the bolts and the plugs for the holes, in case you move the washer later.
How do you level the washer?
Move the washer into its final spot and check that it is level from side to side and front to back. Adjust the feet until the washer does not rock when you push on a corner, and tighten the locking nuts on the feet if your model has them. A washer that is not level vibrates in the spin, can walk across the floor and wears its parts faster. Our Maytag washer vibration troubleshooting guide covers what to do if it keeps shaking after leveling.
Check the level again after the first full load. A floor that flexes will show up only then.
What should you do before the first load?
Plug the washer into a grounded outlet as the manual specifies. If the outlet is missing, damaged or not grounded, or if you are unsure, have an electrician check it; do not use an adapter or work on wiring yourself. Run a short test cycle with no clothes, watch the hose connections for drips, listen for the drain, and check that the washer fills, spins and drains normally. If you want to understand the settings once it works, our Maytag washer cycle settings guide explains them.
When should you get help?
Get help if a connection keeps dripping, a hose has a bulge or crack, the washer faults on the first spin or the outlet or shutoff valves look damaged. If you find water on the floor near an outlet, switch off the breaker at the panel while standing on a dry floor and never pull a plug from a wet outlet. Our Maytag washer leaks water guide helps you trace a leak, and Maytag washer repair explains how a visit works.