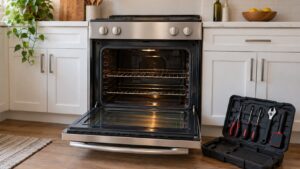
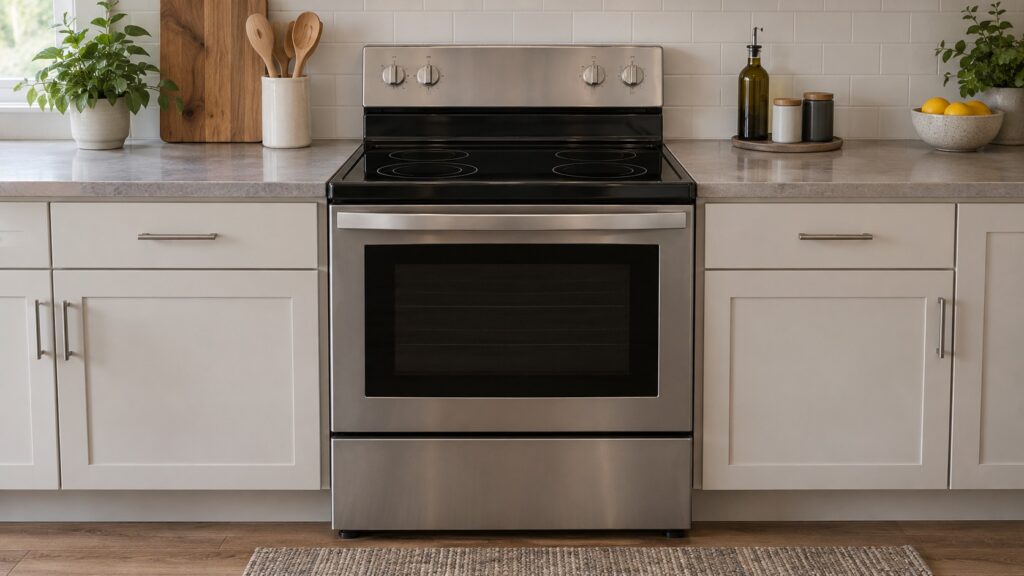
A Maytag electric range needs its own 240-volt circuit, a connection that matches the range’s installation instructions and an anti-tip bracket, and the electrical connection itself should be made by a licensed electrician. In practice that means checking three things before delivery day: the outlet or junction box behind the range, the circuit and breaker that feed it, and the floor and cabinet space. This guide walks you through the checks so the installation goes smoothly, and it is clear about the parts that are not do-it-yourself.
What electrical supply does a Maytag electric range need?
An electric range is one of the biggest electrical loads in a home, so it gets a circuit of its own. For a maytag range 240v setup, that means a dedicated 240-volt circuit that serves only the range, with a breaker and wire size taken from the installation instructions that ship with it and from local electrical code. Do not guess the size from a neighbor’s range or from another appliance. The model pages on this site name the electric models, such as the MER7700LZ (a freestanding electric range with convection and Air Fry), the MER4800PZ and the MER6600FB, but they do not list amperage, so the instructions or the rating label on your range are the authority. The label is usually on the frame behind the oven door or on the storage drawer opening.
Our guide to gas vs electric ranges mentions a dedicated 240-volt circuit as part of the choice, and our Maytag dryer installation guide makes the same point for dryers: a dedicated circuit, not shared and not run through an extension cord or an adapter.
What should you check before the range arrives?
- The outlet or box. Look behind the old range or at the wall where the new one will stand. Note whether there is a receptacle or a wired junction box, and whether it looks scorched, loose or discolored. If it does, call an electrician before anything else.
- The breaker. Find the range’s breaker in the panel and check that it is labeled. A tripping breaker on the old range is a problem to fix first, not to carry over.
- The cord or connection. Ranges can use a cord with a plug or be wired directly, and the right choice depends on the model’s instructions and your wall outlet. Do not change a cord or terminal arrangement unless the instructions describe it and you are qualified.
- The space. Measure the opening, the floor level and the clearance to the cabinets and the wall, using the dimension sheet and clearance diagram in the installation instructions.
- The floor. It must be solid and fairly level. Lay a board or cardboard to protect it when you slide the range.
Who should make the electrical connection?
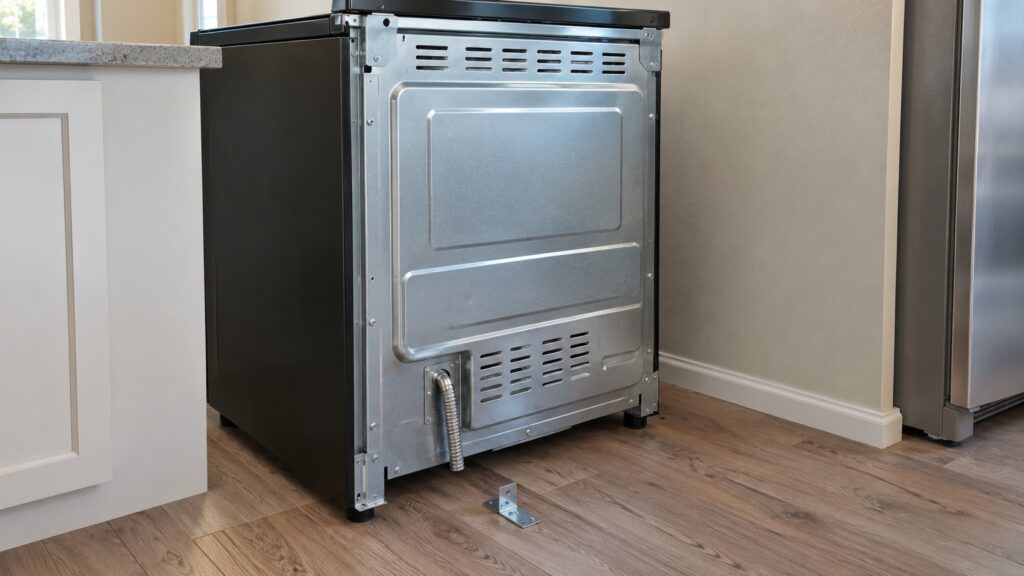
A licensed electrician, or one of our technicians, for any new circuit, any junction box work and any change to the connection. The connection is behind a cover on the back of the range, and the owner should leave that cover on. The only owner steps are to switch the range’s breaker off before the range is moved, keep hands dry and leave the connection itself to the electrician. If you see a scorched outlet, a melted plug or any sign of heat at the connection, leave it alone, switch the breaker off while standing on a dry floor and call for service. A loose or wrong connection can overheat, and the problem may not show up until the range is in heavy use.
How do you move and position the range?
- Switch off the range’s breaker before the range is pulled out. Pull it forward carefully, protecting the floor and anything attached to the back of the range.
- Install the anti-tip bracket as the instructions show, into the floor or wall as specified. The bracket is a safety device that stops a heavy range from tipping forward when the oven door is opened and loaded. Do not skip it.
- Have the electrician make or check the connection as the installation instructions require, then push the range back slowly so that nothing is crushed against the wall.
- Check that the range’s rear foot or leg engages the bracket, as the instructions describe.
- Level the range by adjusting its feet, using a level on the cooktop and an oven rack.
What should you test on the first day?
Restore the breaker and check the cooktop and the oven. Each cooktop element should heat when turned on and shut off when turned off. Run the oven on bake for a short time and listen for any popping or buzzing. A new oven can give off a light smell the first time it heats, as the instructions usually note, but a strong burning smell, smoke, sparks or a breaker that trips means you should switch off the breaker while you stand on dry floor and call for service. If a code shows on the display, see our range error codes. For care after installation, our Maytag range cleaning guide helps keep it in good shape.
What if you have a Maytag gas range instead?
The MGS8800PZ, MGR8800FZ, MGR6600PZ and MGR7700LZ are gas ranges on this site, and they need a gas connection in addition to electrical power. Gas lines, shutoff valves and leak checks are for a qualified installer, not for the owner. If you smell gas at any point, do not touch any switch or appliance, leave the house and call your gas utility from outside. For a burner that will not light after installation, see our Maytag range burner not igniting guide.