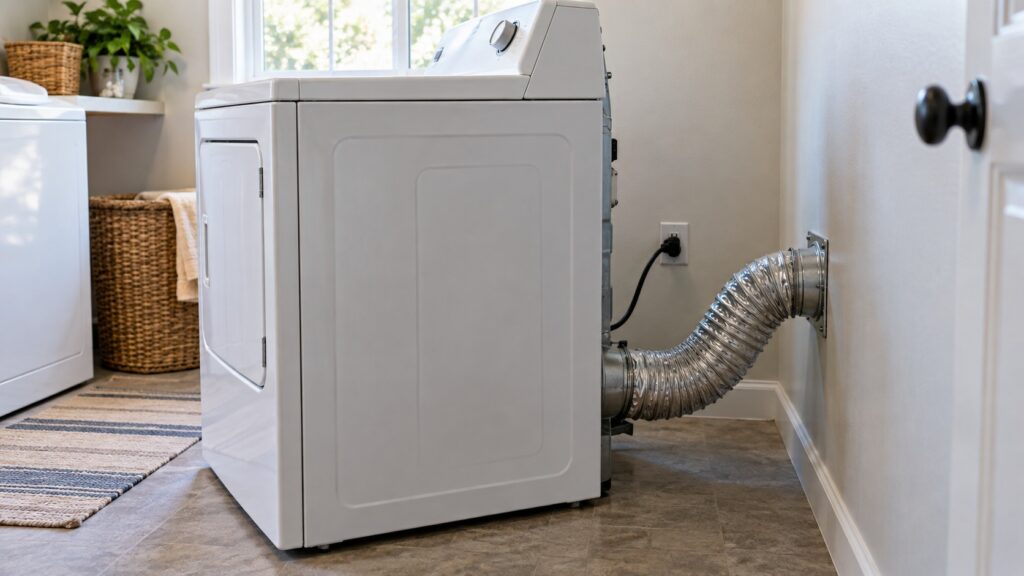
A maytag dryer installation goes wrong in the same three places almost every time: the vent, the electrical or gas connection, and the clearances. Get those right and the machine runs for years; get the vent wrong and you will be reading our troubleshooting guides within a season. This is what to check before, during and after the appliance is in position.
Before the dryer arrives
Measure the doorway, the hallway turns and the laundry space itself, not just the alcove. A dryer that fits the opening but cannot make the turn at the top of the basement stairs is a wasted delivery. Add the depth of the vent connection behind the machine to your cabinet depth — that is the measurement people forget, and it is the reason dryers end up sitting proud of the counter.
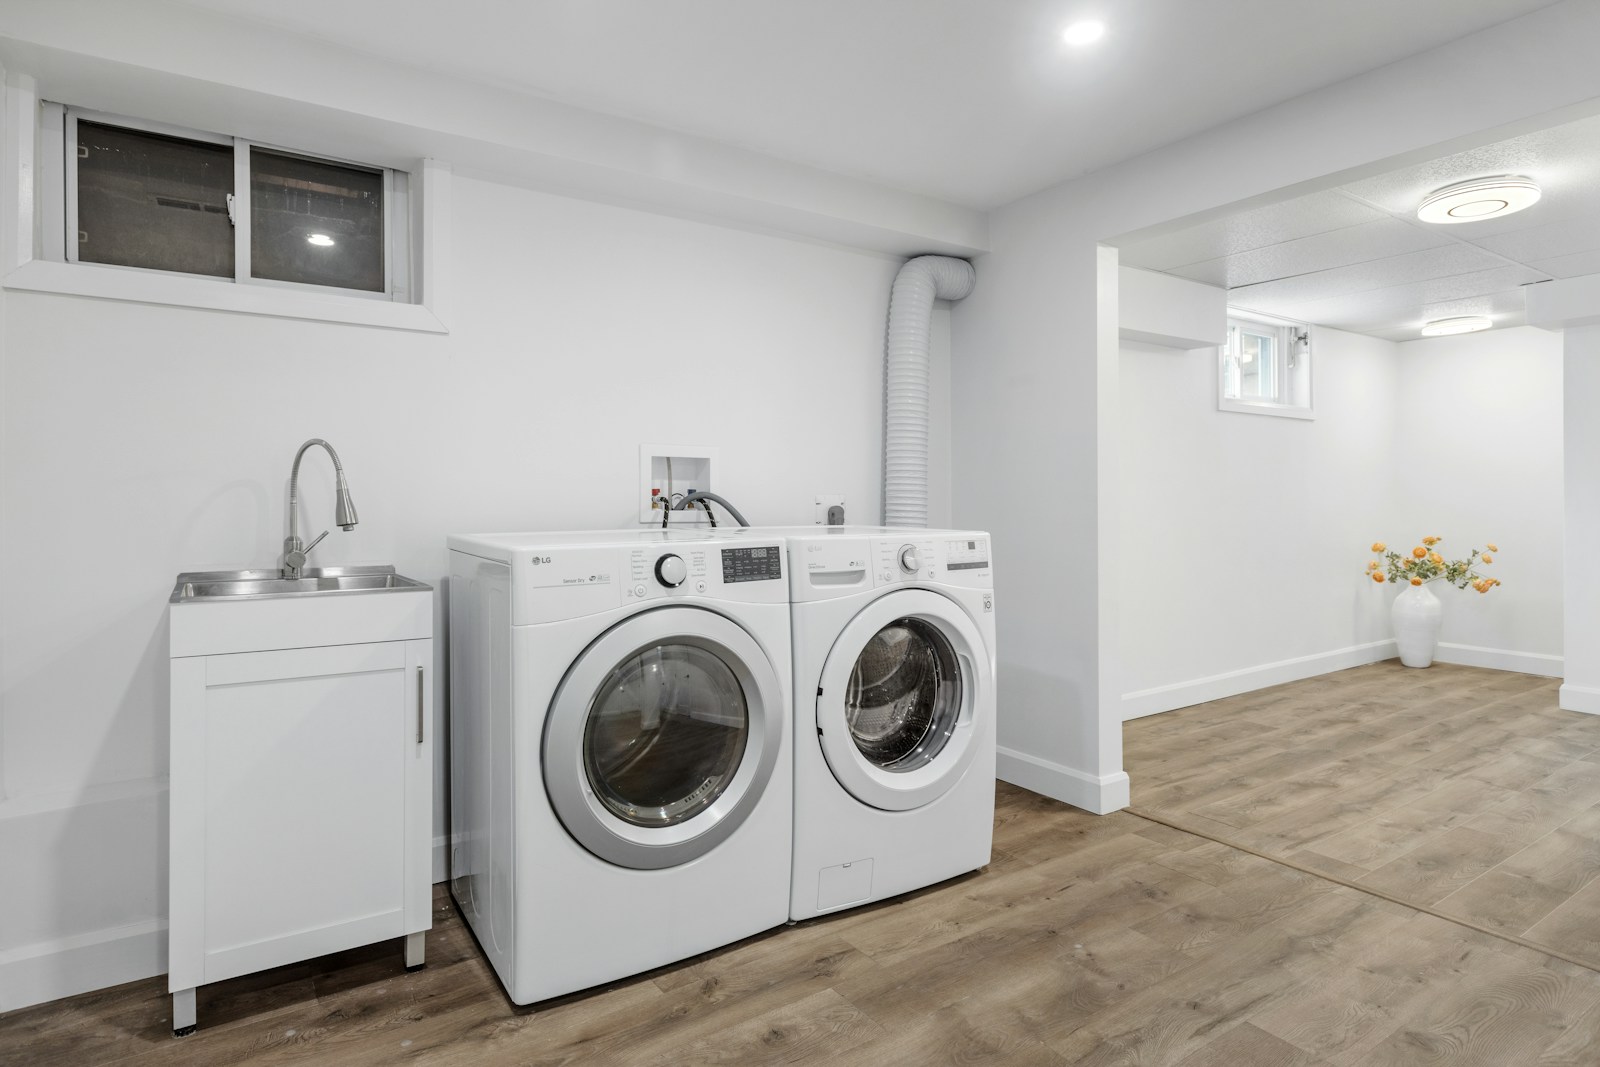
Decide which way the door should open while you can still change it. Most Maytag dryer doors are reversible, and it is a fifteen-minute job on an empty machine against an awkward one later. If the dryer sits beside a washer, the two doors should open away from each other so you can move laundry across without fighting them.
The vent is the whole job
A dryer works by moving heated air through the load and carrying moisture out of the building. Everything that restricts that path makes the machine run longer, hotter and less safely.
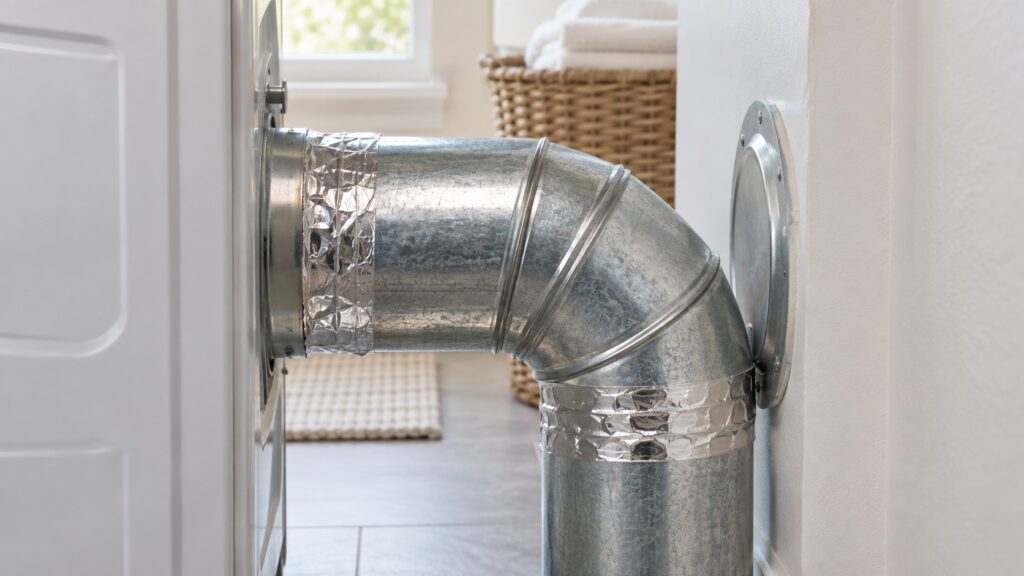
- Use metal. Rigid duct is best, semi-rigid metal is acceptable for the short transition behind the machine. Foil and plastic flex trap lint in every ridge and are a fire risk.
- Keep the run short and straight. Every elbow costs you the equivalent of several additional feet of straight duct. Two sharp turns can halve the effective airflow.
- Do not crush the transition. Pushing the dryer back against a rigid elbow flattens the duct. Use a periscope fitting in tight spaces — that is exactly what it is for.
- Seal with foil tape, never screws. Screws protrude into the airflow and collect lint until the duct blocks.
- Check the exterior hood. A flap that no longer opens, or a screen someone added, will choke the whole run. Screens do not belong on dryer vents.
Once the machine is running, go outside and feel the exhaust. Strong warm air means the run is clear; a weak trickle means it is not, and you have found the problem before it costs you a heating element. Our vent cleaning guide covers keeping it that way.
Electric connection
Electric dryers need a dedicated 240-volt circuit — not shared, not on an extension cord, not through an adapter. The cord is usually sold separately because outlets differ: older homes typically have a 3-prong outlet, newer construction a 4-prong with a separate ground. The cord must match the outlet you actually have, and the terminal block inside the dryer has to be configured for that cord, including the ground strap.
That configuration step is where people get hurt. If you are not confident reading the terminal block diagram, this is the point to bring in an electrician or have us do it during the visit. Getting it wrong can energize the cabinet.
Gas connection
Gas dryers add a fuel line, a shutoff valve within reach, and a leak test. Use an approved connector rather than improvising, do not reuse an old flexible line, and apply pipe compound rated for gas on the threads. Test every joint with soapy water once the gas is on and watch for bubbles — do not rely on smell.
Gas dryers also must be vented outdoors without exception, because combustion products go out with the moisture. In many places this work is regulated and the connection has to be made by a qualified person; check what applies where you live before you start.
Leveling, and why it is not cosmetic
Put a level on the top panel front to back and side to side, and adjust the feet until both read true. An unlevel dryer walks under load, wears the drum rollers and belt unevenly, and makes a noise people later report as a fault. If the floor itself slopes, adjust the feet — do not slide packing under one corner, because it will move.
If the dryer is stacked on a washer, use the manufacturer’s stacking kit and nothing else. Our stacking guide covers that case specifically.
What the laundry room itself needs
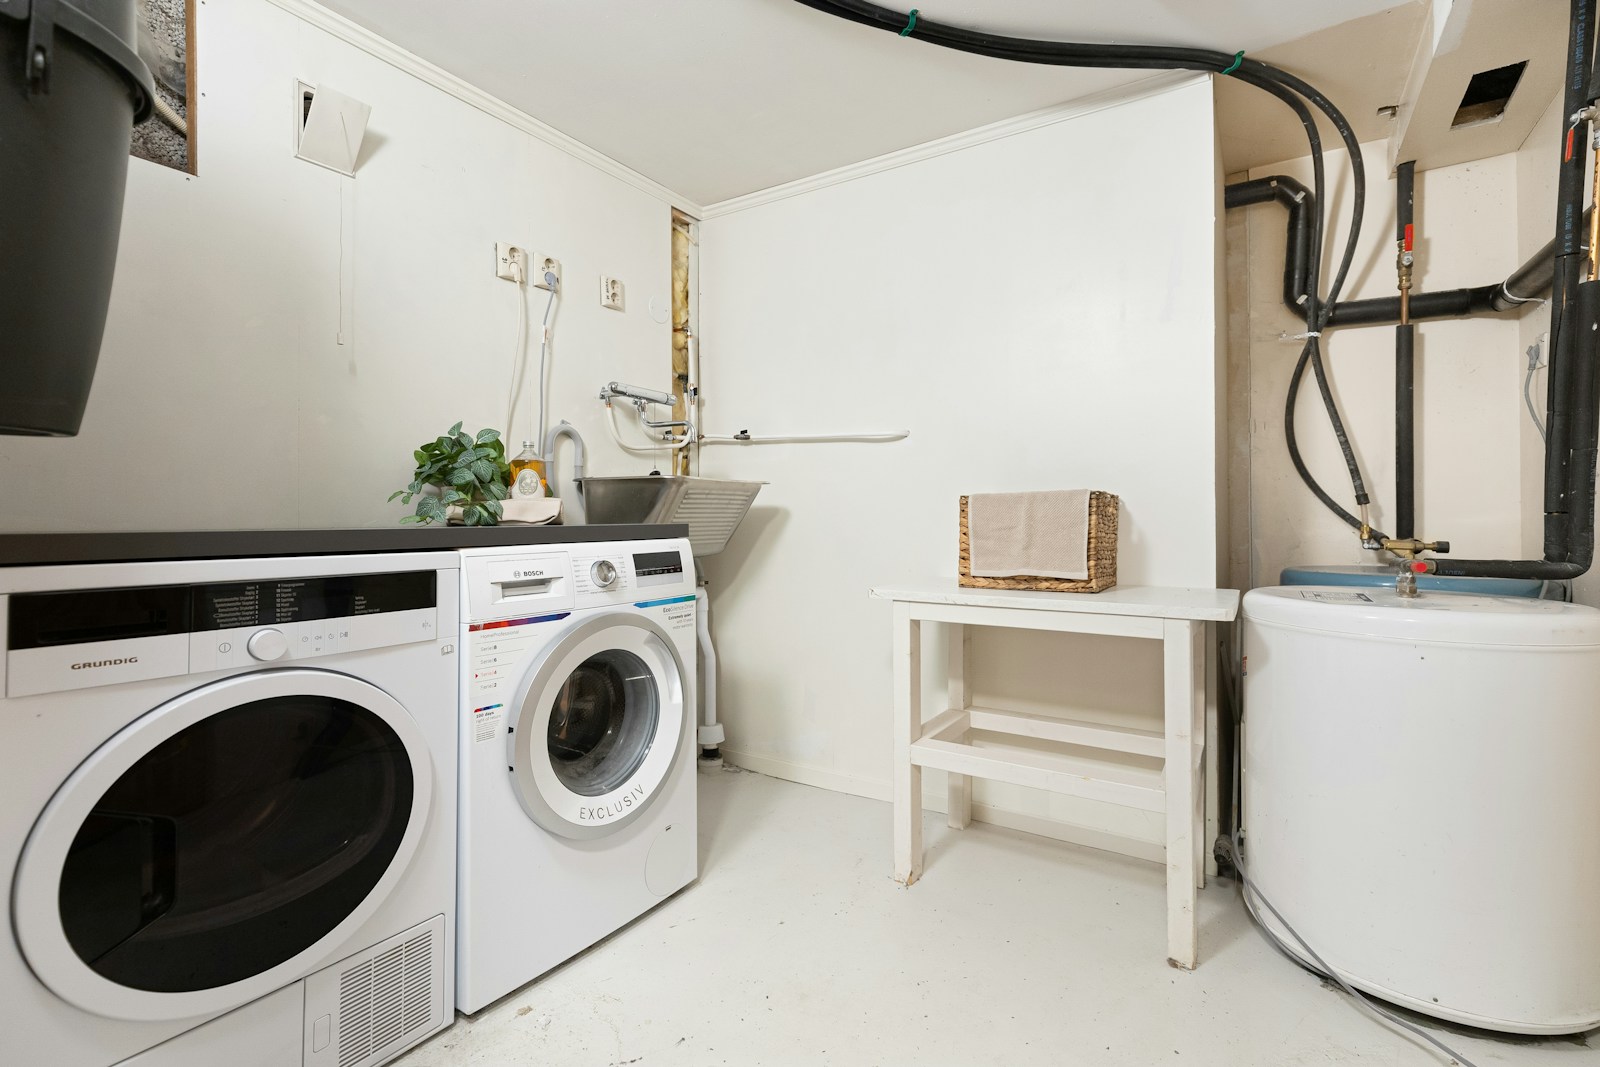
A dryer takes air from the room and pushes it outdoors, which means the room has to be able to replace it. In a tight modern house with the laundry behind a closed door, the machine can end up starving itself — cycles stretch, clothes come out damp, and nothing is wrong with the appliance. A louvered door, or simply leaving the door open during a cycle, fixes it.
Flooring matters too. A dryer on thick carpet sits on a soft, uneven base, and gas models need clear air at floor level. A solid pad or a proper pedestal is better than shims under the feet.
First run checklist
- Run an empty timed cycle on heat and confirm the drum turns smoothly with no scraping.
- Feel the exterior vent hood for strong airflow.
- Check the door closes and latches, and that the drum light and controls respond.
- For gas, re-check every joint with soapy water once the machine has run hot.
- Listen for rhythmic thumping — usually shipping material left in place or a foot not seated.
When to call
Call when the vent run needs rework you cannot reach, when the outlet does not match the cord and you would rather not reconfigure the terminal block, when a gas connection needs making, or when the dryer heats poorly from day one despite a clear vent.
We are an independent repair company, not a factory service arm. Pricing starts from a diagnostic visit and we confirm the estimate before any work begins. Maytag dryer repair covers heating, airflow, drive and controls, and you can schedule a visit online.