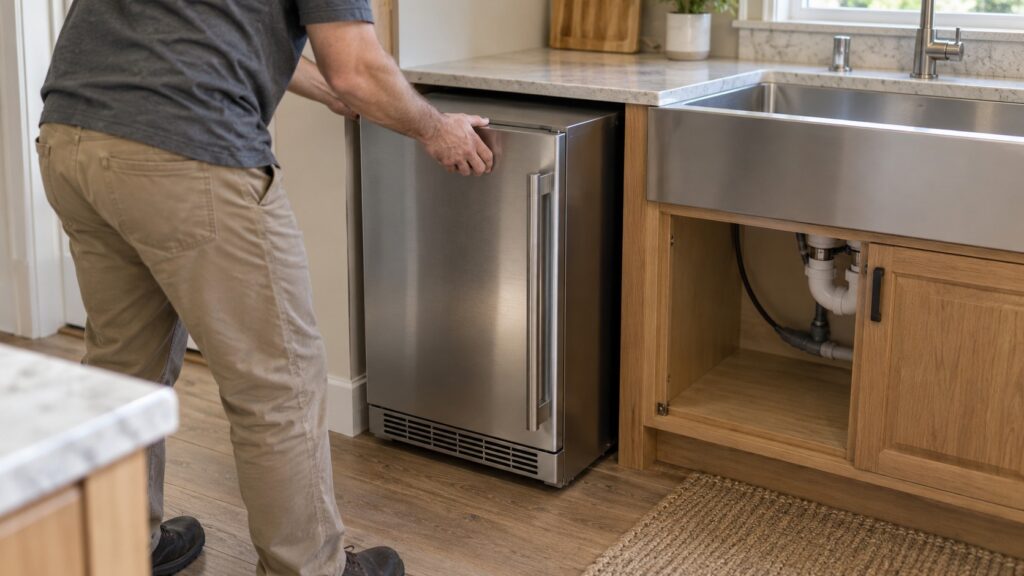
Maytag undercounter ice maker installation comes down to four connections and one measurement: a 15 inch cabinet opening, a grounded outlet, a water supply with its own shutoff valve, and a drain path for melt water. The Maytag MIM1555 family, including the MIM1555YRS and MIM1555ZRS, is a 15 inch stainless undercounter ice maker with a factory-installed drain pump, which makes the drain part flexible. This guide takes you through the preparation, the hookups and the checks that prevent a leak or a slow first batch.
What does the cabinet opening need?
Start with the installation sheet for your exact model, because it gives the opening width, height and depth and the clearance needed around the unit. Measure the gap at the front and again at the back, since cabinets are not always square. Check that the floor is flat and strong enough, because an ice maker full of ice and water is heavy. Confirm that the door can swing open far enough to remove the bin, and that nothing, such as a drawer or an appliance next to it, interferes.
Ventilation matters. An ice maker produces heat as it freezes water, and it needs airflow to shed that heat. Follow the manufacturer’s rules for clearance and for whether the unit vents out of the front, and never block the grille with a decorative panel unless the instructions allow it. A unit that cannot breathe makes less ice, runs hotter and wears out sooner.
How should you set up the water supply?
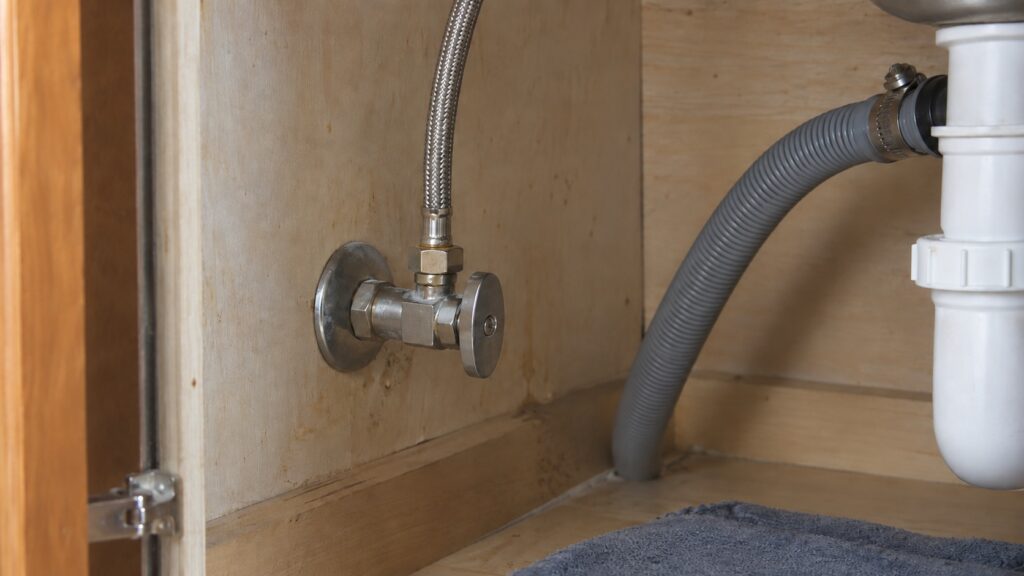
Run a cold water line to the opening with its own shutoff valve, positioned where you can reach it after the ice maker is in place. Flush the line first by running water through it into a bucket for a minute, so that scale and debris from a new connection do not reach the inlet valve. Use the supply tubing the installation sheet specifies, avoid kinks, and leave a small loop of slack so the unit can slide in and out for service. If your water is hard or cloudy, a filter on the supply line helps keep the ice clear and the machine clean; our Maytag ice maker cleaning guide explains why mineral buildup matters.
Check each fitting for leaks by turning the water on slowly and wiping every joint with a dry paper towel. A drip you cannot see is a floor you will replace.
How does the drain pump change the drain?
Melting ice and rinse water have to leave the cabinet. A gravity drain needs the unit to sit above the drain point so water flows downhill. Models with a factory-installed drain pump, like the MIM1555 family, push the water up and away, so you can connect to a drain that is higher than the base of the unit, such as a sink drain line or standpipe. Route the discharge hose without sharp bends, secure it so it does not slip off, and connect it according to your local plumbing rules. Do not run it into the same line as a dishwasher without the proper connection method.
If melt water pools in the cabinet later, the cause is usually a kink, a clog or a failed pump. Our page on the ice maker drain pump not pumping covers the symptom and the likely parts.
What about power and leveling?
Plug the unit directly into a grounded outlet that suits the rating on its data label. Do not use an extension cord or a power strip, and do not remove the grounding pin. Position the outlet so the cord is not pinched behind the ice maker. Then level the unit using its adjustable feet, front to back and side to side. A level machine drains correctly, makes uniform ice and avoids noise. When it is level, confirm that the door seals evenly against the cabinet and that the bin slides in and out smoothly.
Where should an ice maker not be installed?
Avoid places that freeze or bake. An ice maker in an unheated garage can freeze its water line in winter, and one in a hot, closed alcove struggles to shed heat in summer, so it makes less ice and runs constantly. Keep it away from direct sun and from a nearby oven or dishwasher that heats the cabinet. Use it indoors, in a kitchen, bar or basement, where the temperature stays within the range the manual gives. If the space is tight, leave the slack in the water line and drain hose so the unit can be pulled out for cleaning or service without disconnecting anything.
What should you do on the first day?
Switch the unit on and let it run. The first batch of ice often tastes of plastic or sanitizer or carries dust from manufacturing, so discard the first batches. Run the Clean Cycle once before regular use, following the manual. Check the water line, the drain and the base for dampness after a few hours, then again the next day. Look at how the Auto Ice Level Shutoff behaves; the machine should stop making ice when the bin is full. If ice does not appear after the first day, our Maytag ice maker not making ice guide walks through the checks.
To understand what the machine is doing, read how a Maytag undercounter ice maker works.
We are an independent repair company, not the manufacturer, and our focus is repairs rather than new installation. If a newly installed unit leaks, makes no ice or shows a fault, our Maytag ice maker repair service can check it, and you can schedule a visit online.